1. Fund a Wallet
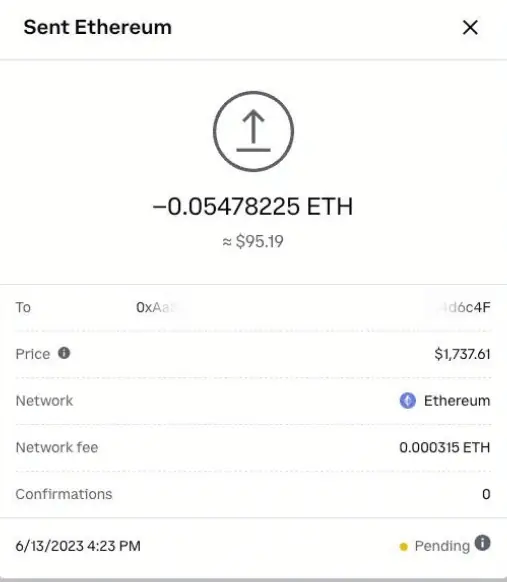
Create and fund a crypto wallet like Trustwallet or Metamask with Ethereum or follow the steps to set up an account on one of our trusted exchanges like BitMart.
2. Exchange Funds
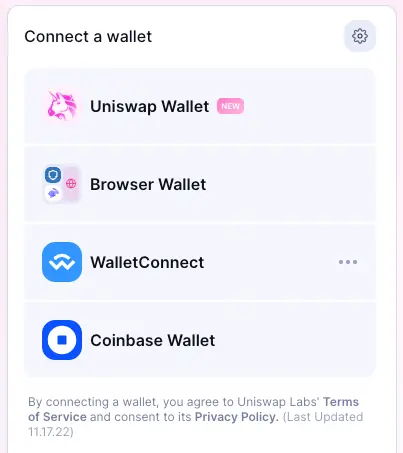
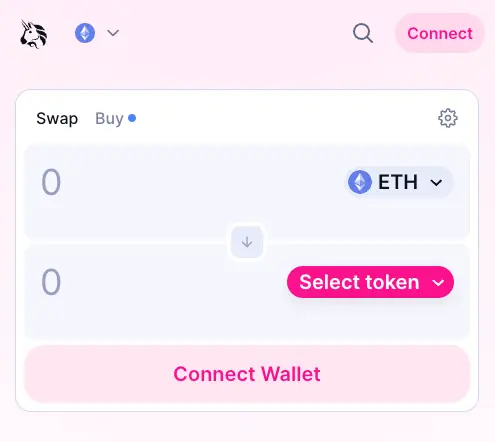
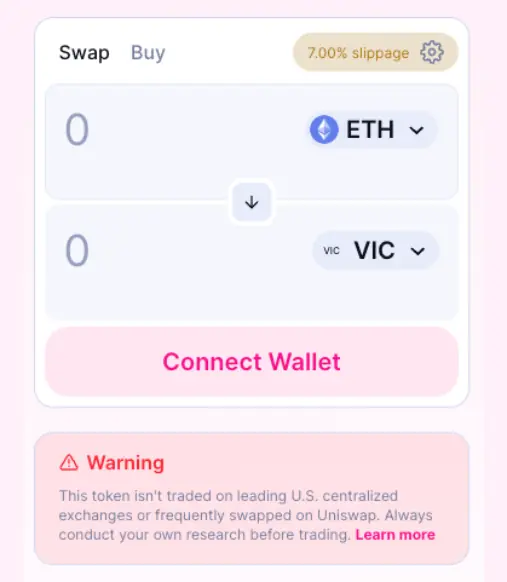
Once you have a wallet full of $ETH, head on over to Uniswap. From there, enter our contract address, and swap your $ETH for $VIC!
3. Hodl & Hang
Welcome to the $VIC revolution! Stay tuned for more info on rewards and more as we further develop and launch VIC-Travel and VIC-Mart later this year!
Welcome to our $VIC buy guide! If you already have a crypto wallet like Trustwallet or Metamask, you can head on over to Uniswap to purchase our token there. For a deeper dive on how to do all that, read below for the official steps in procuring $vic in your wallet!
Step 1: Creating a Coinbase Account.
First thing is first, we will need to create a reputable on ramp to fund your initial purchase of $VIC. Coinbase is our pick for ease of use. Below are steps to creating an account with Coinbase.
- Visit the Coinbase website at https://www.coinbase.com/.
- Click the ‘Get Started’ button.
- Enter your personal information (Name, Email address, and password).
- You will need to verify your email address and identity. Follow the prompts to complete the verification.
- Once your identity is verified, you will be asked to set up two-step verification, which is an extra layer of security for your account. This usually involves linking your mobile phone number.
- Now, you can log in to your account.
- For further help on setting up a coinbase account click here for their getting started documentation.
Step 2: Funding your Coinbase Account
- Log in to your Coinbase account.
- Click on the “Portfolio” tab.
- Then click on the ‘USD’ or your native currency, and you will see the option to ‘Deposit’.
- Follow the prompts to link your bank account or debit card.
- Once linked, you can deposit funds from your bank account to your Coinbase account. The deposit process may take some time depending on your bank.
Step 3: Purchasing Ethereum (ETH)
As Uniswap is built on the Ethereum blockchain, you’ll need to have some ETH to handle transaction fees and to swap for $VIC.
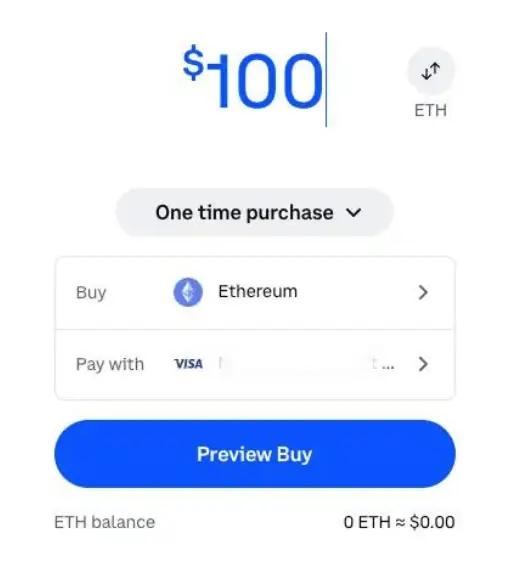
- From your Coinbase account dashboard, go to ‘Buy/Sell’.
- Select ‘Ethereum’ from the list of cryptocurrencies.
- Enter the amount you wish to buy in your local currency or in Ethereum.
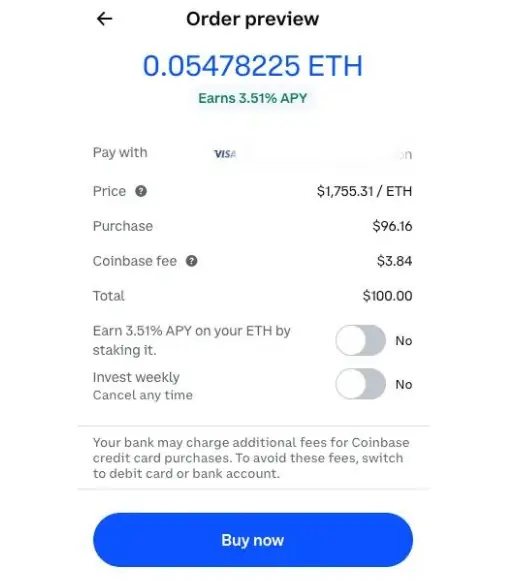
- Review the transaction (ensure you are happy with the exchange rate and fees) and confirm your purchase.
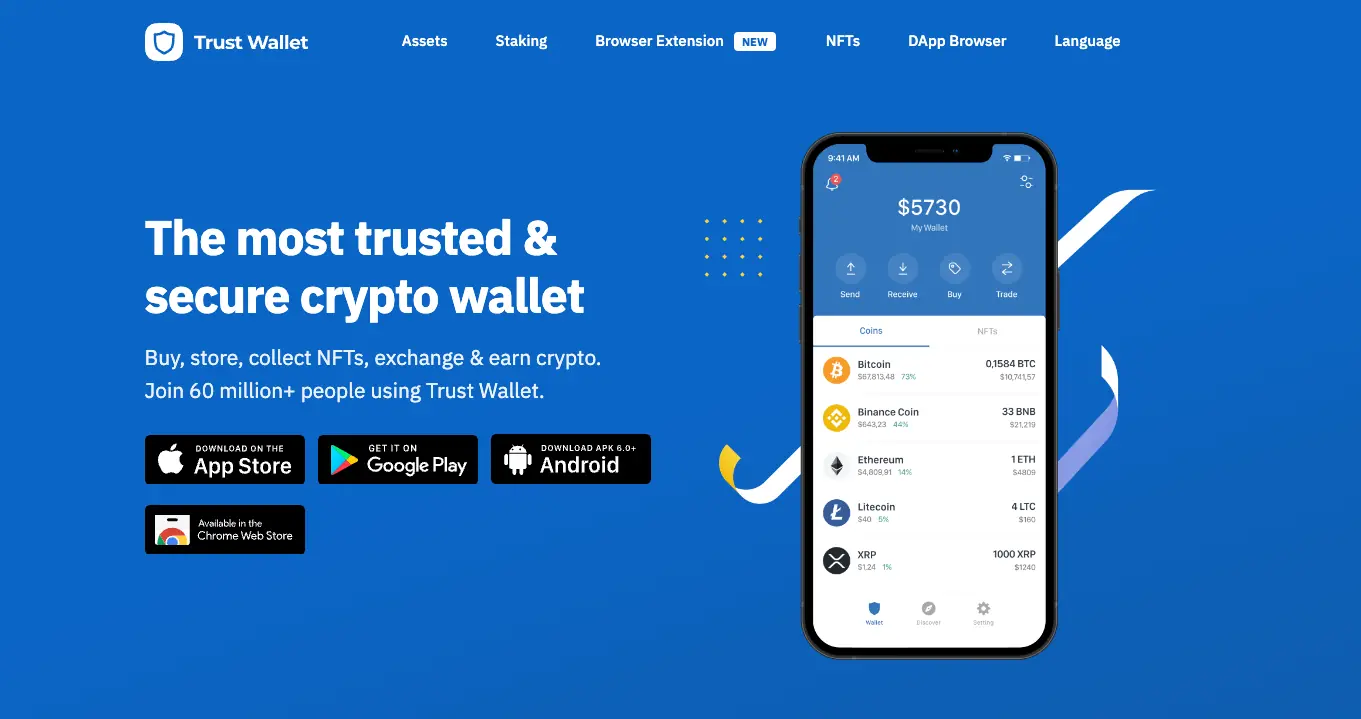
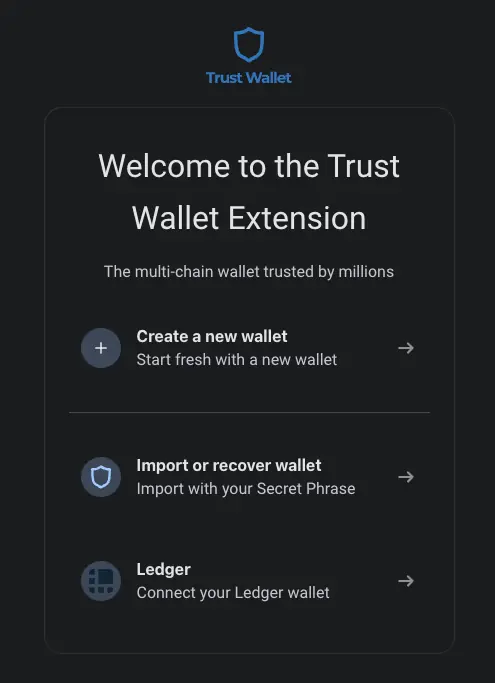
Step 4: Setting Up Trust Wallet
- Download Trust Wallet from the App Store (for iOS users) or Google Play Store (for Android users) or the browser extension for chrome here: https://trustwallet.com/
- Once installed, open the app and create a new wallet.
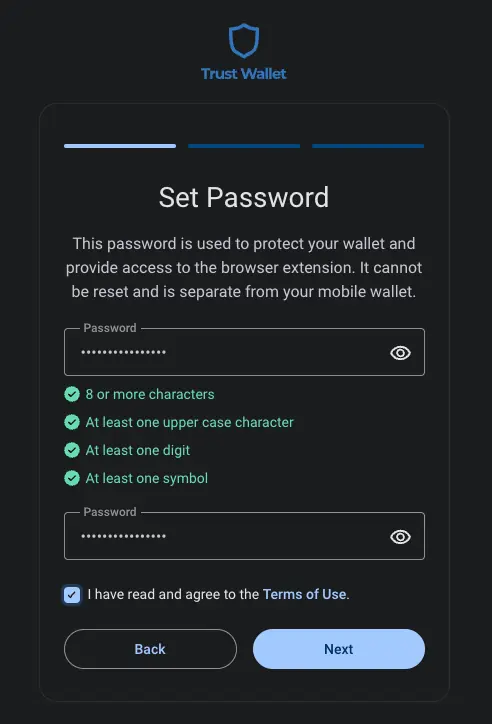
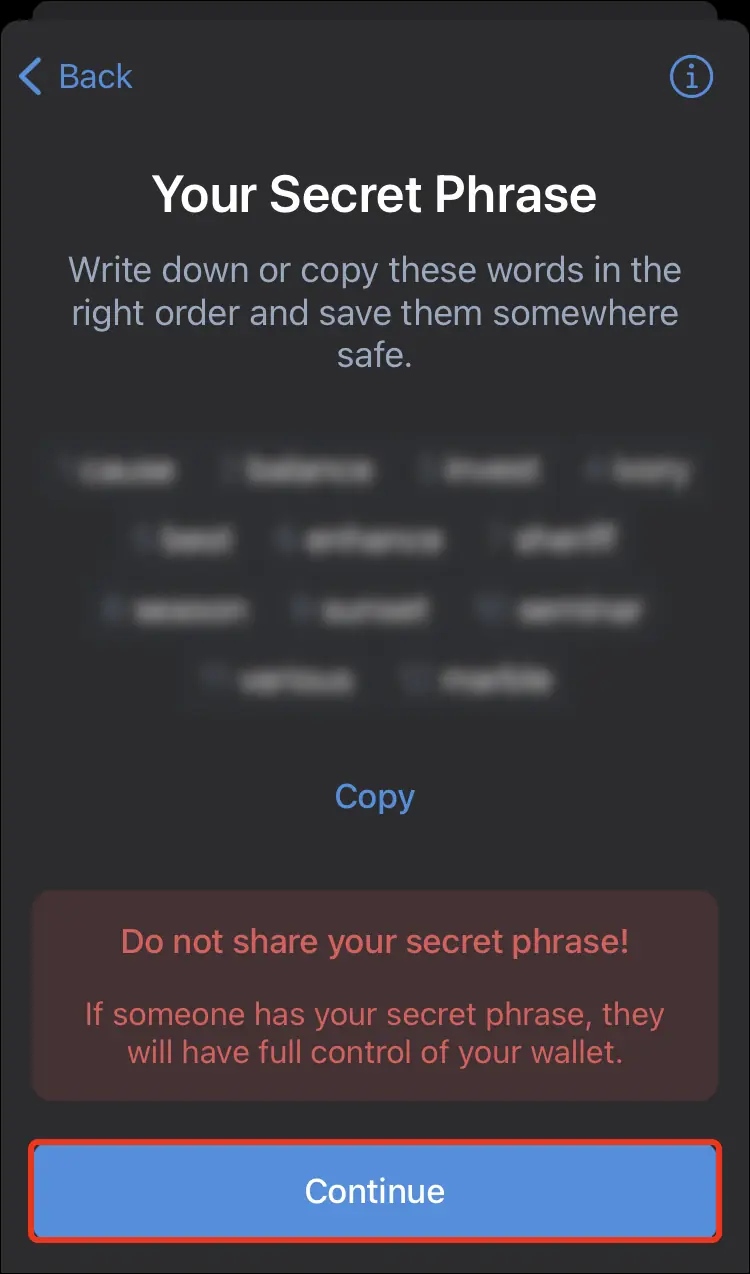
- You will be asked to make a password to access the application. After you will be given a list of recovery phrases to recover your wallet.
- Safely store the recovery phrases that are provided. They are the only way to restore your wallet if you switch devices or uninstall the app.
- We always recommend writing down your recovery phrases and keeping them in a safe place. Take a look at this blog post for more on wallet safety.
Step 5: Transferring ETH from Coinbase to Trust Wallet
- From your Trust Wallet, click on ‘Ethereum’.
- Tap ‘Receive’, and you’ll see your Ethereum wallet address.
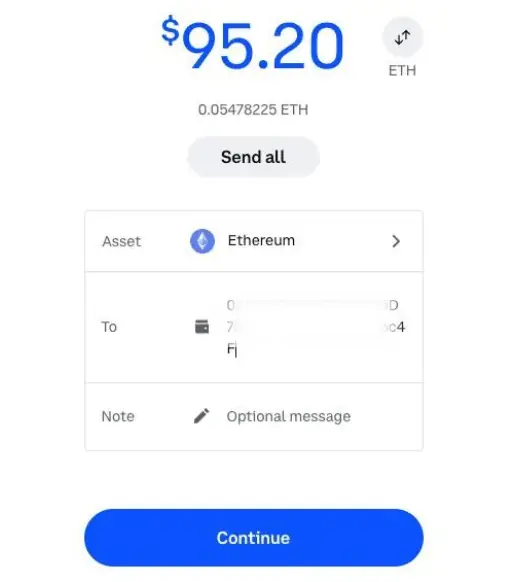
- From your Coinbase account, click ‘Portfolio’ then find ‘Ethereum’ and click ‘Send’.
- Enter the Ethereum wallet address you got from your Trust Wallet and the amount you want to send.
- Click ‘Continue’ and confirm the transaction.
- The ETH should appear in your Trust Wallet shortly. If your transaction is pending for longer than normal, consult coinbase’s pending info section here.
Step 6: Connecting your Trust Wallet to Uniswap
- Navigate to Uniswap by clicking here
- In the right hand corner, click on connect wallet
- You’ll have the option to choose “browser wallet” or “wallet connect” (wallet connect is the only choice on mobile). Once clicked, Follow the next link to connect your trust wallet to Uniswap.
Step 7: Swapping ETH for $VIC on Uniswap
- Once your wallet is connected, you will see your Ethereum balance on the screen.
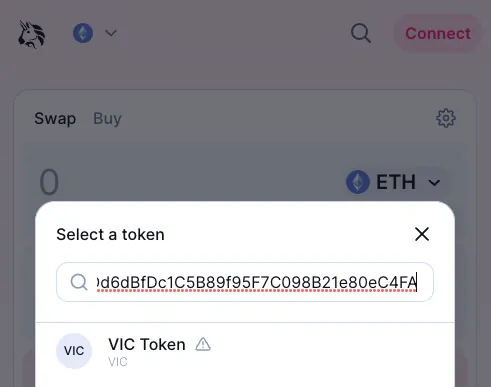
- Now, click on “Select a token”. A token search bar will open.
- Copy our Token Contract Address: 0x1e3778Dd6dBfDc1C5B89f95F7C098B21e80eC4FA
- You will see $VIC (Victory Impact Coin) pop up with the option to select it.
- Enter the amount of ETH you want to swap for $VIC.
Step 8: Gas & Slippage
- Check the exchange rate and the gas fees (transaction fees on the Ethereum network).
- The auto slippage percentage will be set to be between 0.1% and 7%. Depending on the network fee and swap size, this is designed to give you the best swap outcome.
- If you’re happy with the rates and fees, click on ‘Swap’.
- A confirmation screen will appear. Review the details again and then click ‘Confirm Swap’.
- A final request for authorization will appear in your Trust Wallet. If you’re still happy with the details, confirm the transaction.
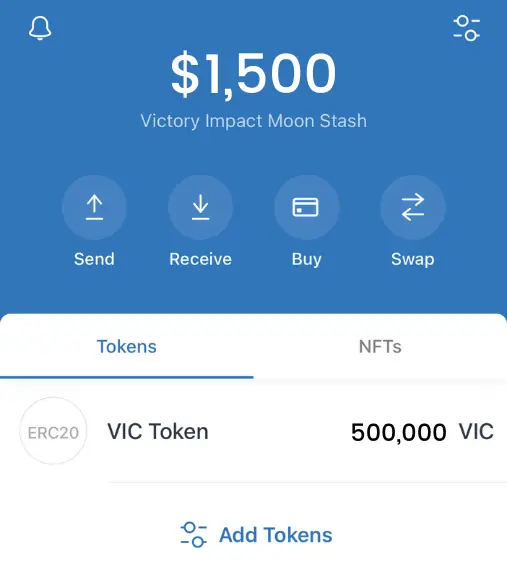
- Upon completion, your new $VIC tokens will be added to your wallet after the transaction has been processed. You can view your $VIC balance in your Trust Wallet by adding the $VIC token to your list of visible tokens.
Important Note: Make sure you have enough ETH to cover not only the amount you want to swap but also the gas fees for the transaction. Gas fees can fluctuate significantly depending on the network load, so factor this into your calculations.
It’s always wise to double-check all the addresses and the amounts before confirming any transaction. Cryptocurrency transactions are irreversible, and any mistake can result in a permanent loss of funds.
Step 9: Adding your $VIC balance in your Trust Wallet
When you purchase $VIC using the above methods, your $VIC balance should show in your wallet automatically. If for whatever reason it does not, follow these simple steps below to see your $VIC amount.
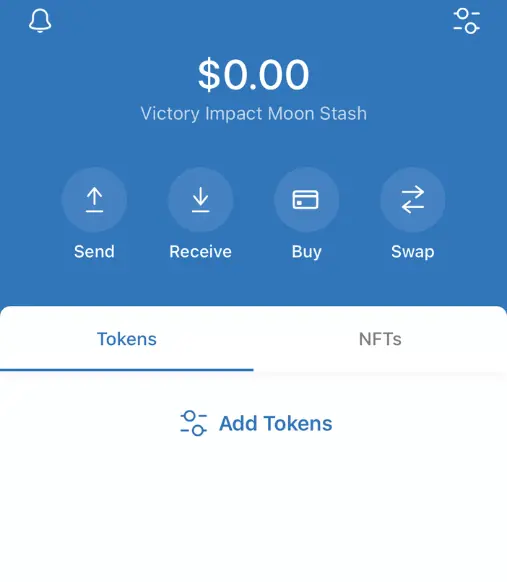
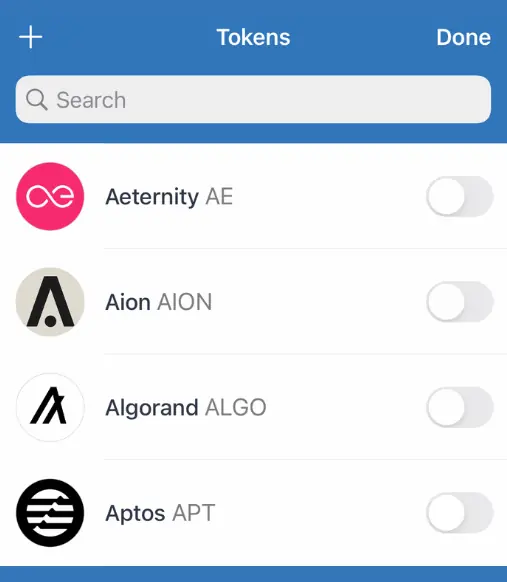
- Click Add tokens in your Trust Wallet Application.
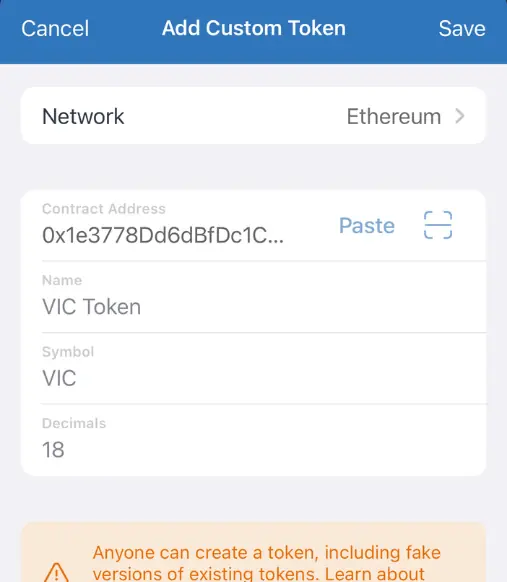
- Once Clicked, click on the plus sign to add in custom token info.
- Paste in our contract address: 0x1e3778Dd6dBfDc1C5B89f95F7C098B21e80eC4FA into the form. The rest of the info should auto populate from there. Press Save.
- If you had purchased or received $VIC and it did not automatically add the info to your wallet, your updated balance will now be viewable.
Congratulations, you’re officially a $VIC Holder. Welcome to the Family!
The voyage doesn’t end here! You can extend your support of the Victory Impact project by exploring our official merch store!
Our curated line of merch isn’t just stuff; it’s a rad way to visually proclaim your tie to the project and flash your involvement! Each piece you snag doesn’t just amp up your style game, it bolsters the Victory Impact ecosystem’s longevity and reach.
Plus, who doesn’t love being a walking billboard for a cause they believe in? It’s your chance to shine a light on this epic opportunity for others. The step you took today wasn’t solely about trading in digital currency; it’s your ticket into a groundbreaking, inventive squad that’s transforming the financial universe.
Rocking our Victory Impact merchandise, you’re not just wearing cool threads, but embodying your advocacy, and your faith in a venture poised to redefine the crypto landscape. So here’s a toast to you, a pivotal part of Victory Impact – Cheers for being awesome and supporting us!

